15 Tips for Beginners in Dune: Awakening, Expanded
Dune: Awakening punishes sloppy routines more than bad aim. Most early losses come from predictable mistakes: crossing open sand at the wrong time, leaving your bike exposed, running “just one more” objective with too much on you, or letting water and power drift into crisis. This guide gives you 15 practical habits that keep runs stable: safer travel, reliable water, smarter base setup, and faster early progress without gambling your stash.
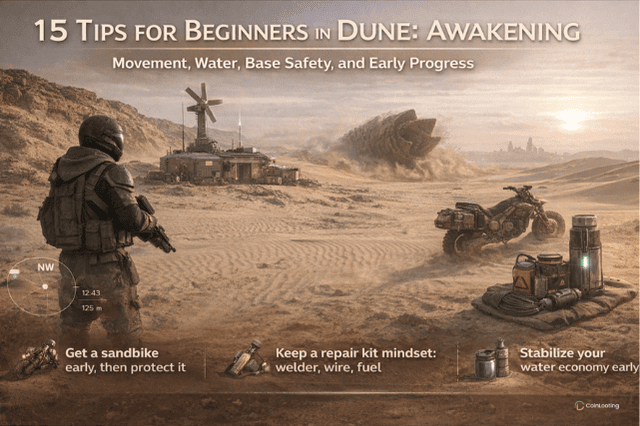
1) Get a sandbike early, then protect it

A sandbike changes the entire risk profile of your sessions. It turns long, dangerous travel into short, controlled trips and lets you bail out when the desert starts “spiking” with threats. The mistake most beginners make is treating the bike like a convenience, then losing it to storms, bad parking, or a rushed dungeon entry.
What to do
- Prioritize the earliest blueprint and parts you can realistically secure.
- When you enter a cave, ruin, or any place that can trap you in a long fight, use the vehicle backup tool and take the bike with you.
- Park like the desert is trying to delete your ride, because it is.
A simple rule
If you can’t see the bike from where you’re looting or fighting, back it up first.
2) Keep a repair kit mindset: welder, wire, fuel
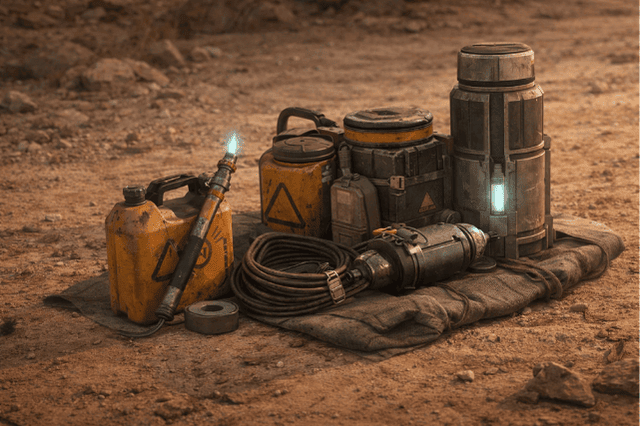
Your kit is not “weapon and armor.” Your kit is “ability to keep moving.” Durability loss and fuel mistakes create deaths that feel random but are actually avoidable. Beginners often carry extra loot instead of maintenance, then get stranded at the worst moment.
What to do
- Keep a small repair bundle as a permanent loadout habit.
- Repair before you hit critical durability, not after you notice the problem.
- Treat fuel like ammo: leaving base with “probably enough” is how runs die.
A simple rule
If you’d be nervous about doing the return trip with your current fuel, top up now.
3) Power is base security, not comfort

Power is not a “nice upgrade,” it’s what keeps your base functioning as a safe anchor point. New players build production first, then realize the base can’t stay stable when power dips. That’s backwards. Power should be the baseline that makes everything else safe.
What to do
- Build power slightly above your current needs.
- Plan for growth: every new station, fabricator, and device will quietly push you into a deficit.
- Treat power as a buffer against real life. If you log off for a bit, you still want the base stable.
A simple rule
If you add a new device, assume you also need to upgrade power.
4) Your first base is temporary

The early base is a tutorial tool. It exists to get you started, not to become your dream home. Beginners waste time making it pretty, then lose hours relocating under pressure. The winning approach is minimal build, fast learning, quick move.
What to do
- Build the minimum required for progression and safety.
- Keep storage organized so moving is painless.
- Avoid sinking rare resources into early construction.
A simple rule
If a material is hard to replace, don’t spend it on Base #1.
5) Travel at night when you can

Night travel reduces heat pressure and gives you better visual reads on danger and activity. It also makes long routes feel more manageable, because you spend less time fighting the environment itself. Beginners force daytime travel, then burn resources just to stay alive.
What to do
- Use night for exploration and long trips.
- Use daytime for base work, crafting, sorting, and short local objectives.
- If you must travel in heat, plan cover points and keep the route tight.
A simple rule
Long travel by day should feel like an exception, not your default.
6) Use a scout probe before you roam
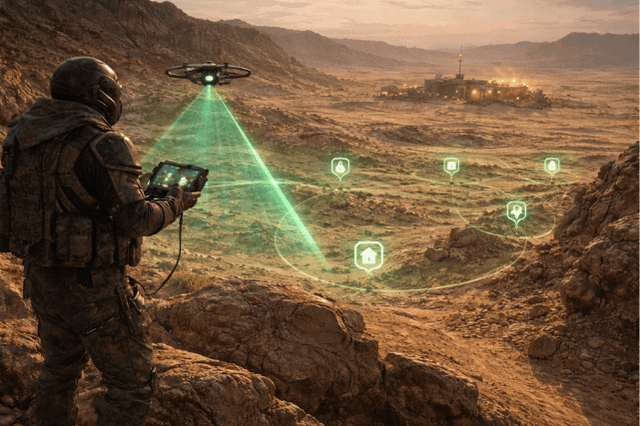
A probe is the difference between “wandering” and “running a route.” Scanning from a high point converts unknown space into a plan. That saves hours and prevents the classic beginner cycle: run out, get spooked, run back, repeat.
- What to do
Scan a new region before your first serious loot run there. - Mark safe hubs, vendors, and reliable shelter points.
- Use scans to stack objectives in one trip, not one objective per trip.
A simple rule
If you’re saying “let’s see what’s out there,” scan first.
7) Avoid open dunes when you can, use rocks as safe lanes
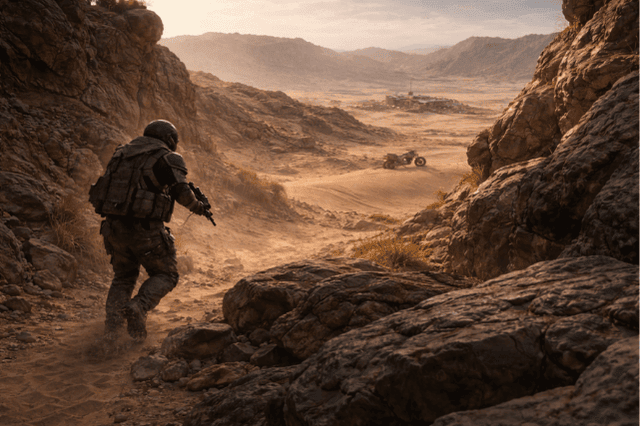
Open sand is where the desert has the most leverage over you. Rocks, ridges, and broken terrain give you control: cover, breaks in line-of-sight, and better options when something goes wrong. Beginners take the straight line and pay for it.
What to do
- Route from cover to cover.
- Break long crossings into short, intentional segments.
- If the sand feels too open, change the plan instead of forcing it.
A simple rule
Shortest path is rarely the safest path.
8) Watch the vibration indicator like a health bar

Treat vibration as “time until disaster,” not as background UI. If you wait until it’s high, you are already late. Good players react early and change the route while the situation is still controllable.
What to do
- Make micro-adjustments early rather than panic moves late.
- Commit to a safer lane instead of “just a few more meters.”
- If you see a trend toward danger, assume it will keep trending.
A simple rule
Early reaction beats perfect reaction.
9) Do not use shields on worm sand

Some tools protect you in normal fights but create problems on worm sand. New players lean on shields as a universal safety net, then trigger the exact kind of attention they were trying to avoid.
What to do
- Treat worm sand as a different ruleset.
- Use mobility and route discipline as your defense layer.
- Save shield use for contexts where it doesn’t amplify risk.
A simple rule
On worm sand, stealth and movement beat “tanking.”
10) Blood is water, water is time

Water is your schedule. If you have water, you can stay out longer, travel farther, and recover from mistakes. If you don’t, you are forced into rushed decisions. Blood extraction is a reliable early method to keep your water economy stable.
What to do
- Carry a blood extractor early, as a standard slot item.
- Convert blood into clean water whenever you can.
- Don’t delay water processing until you’re desperate, that’s when you make bad runs.
A simple rule
If you finish a fight and you’re not extracting, you’re leaving value behind.
11) Place respawn beacons before you push a hard location
![]()
Beacons turn “one mistake ruins the session” into “one mistake costs a minute.” New players skip beacons because they feel confident, then lose 30-60 minutes to recovery travel after a predictable death.
What to do
- Place a beacon before a high-risk push: strongholds, camps, deep ruins.
- Put it at a safe distance, not right on top of the fight.
- Replace it when you relocate the mission zone.
A simple rule
If the location feels dangerous, the beacon goes down first.
12) Do not bring your entire fortune on one run

Arrakis punishes emotional carrying. Beginners grab everything “just in case,” then lose everything when the run goes bad. You progress faster by running smaller, repeatable trips than by gambling one huge haul.
What to do
- Keep valuables in base storage.
- Run “one objective, one return” until you’re stable.
- Scale up gradually, not emotionally.
A simple rule
If dying would tilt you, you’re carrying too much.
13) Follow the main story early

Main story is the fastest way to unlock systems that make the rest of the game easier: tools, access, and structure. Side content becomes more efficient after you have those unlocks. Beginners wander into side loops too early and feel underpowered.
What to do
- Push main story until core tools and mobility open up.
- Use side content as a resource boost, not as your main track.
- Return to side objectives once your travel and survival tools are online
A simple rule
Unlock first, optimize second.
14) Pick your second base location with vendors and mixed resources nearby
Your base is a logistics decision. A good location reduces travel, risk, and time lost to boring runs. Beginners choose a “pretty spot,” then spend the next week commuting.
What to do
- Prioritize proximity to traders and frequent quest flow.
- Look for mixed resources so you’re not forced into long single-resource trips.
- Avoid spots that require crossing high-risk terrain every time.
A simple rule
A base that saves 5 minutes per run becomes hours saved per week.
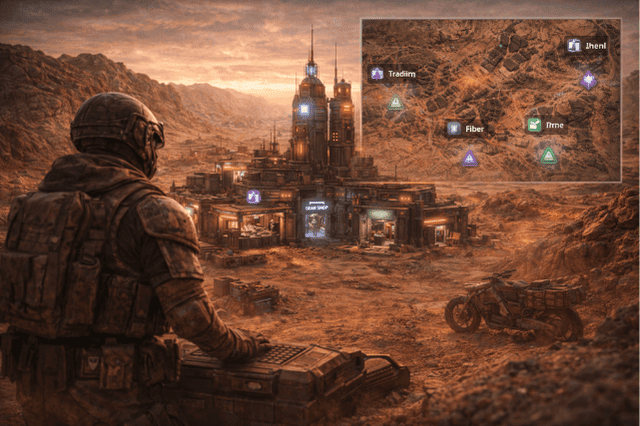
15) Use the interactive map and c ommunity databases
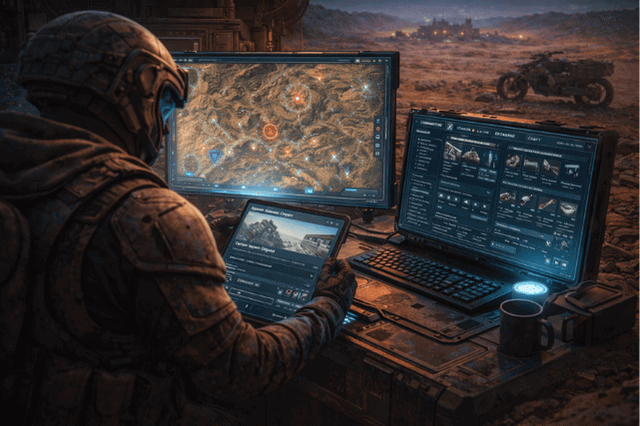
Early progression is mostly “knowing where things are.” Maps and databases remove guesswork, reduce failed trips, and help you learn route patterns faster. The goal is not to outsource the game, it’s to cut pointless downtime.
What to do
- Use maps to plan routes and stack objectives.
- Use databases to avoid crafting dead-ends and wrong upgrades.
- Keep one or two references you trust, not ten tabs.
A simple rule
If you failed a trip because you “didn’t know,” look it up once, then never repeat the mistake.